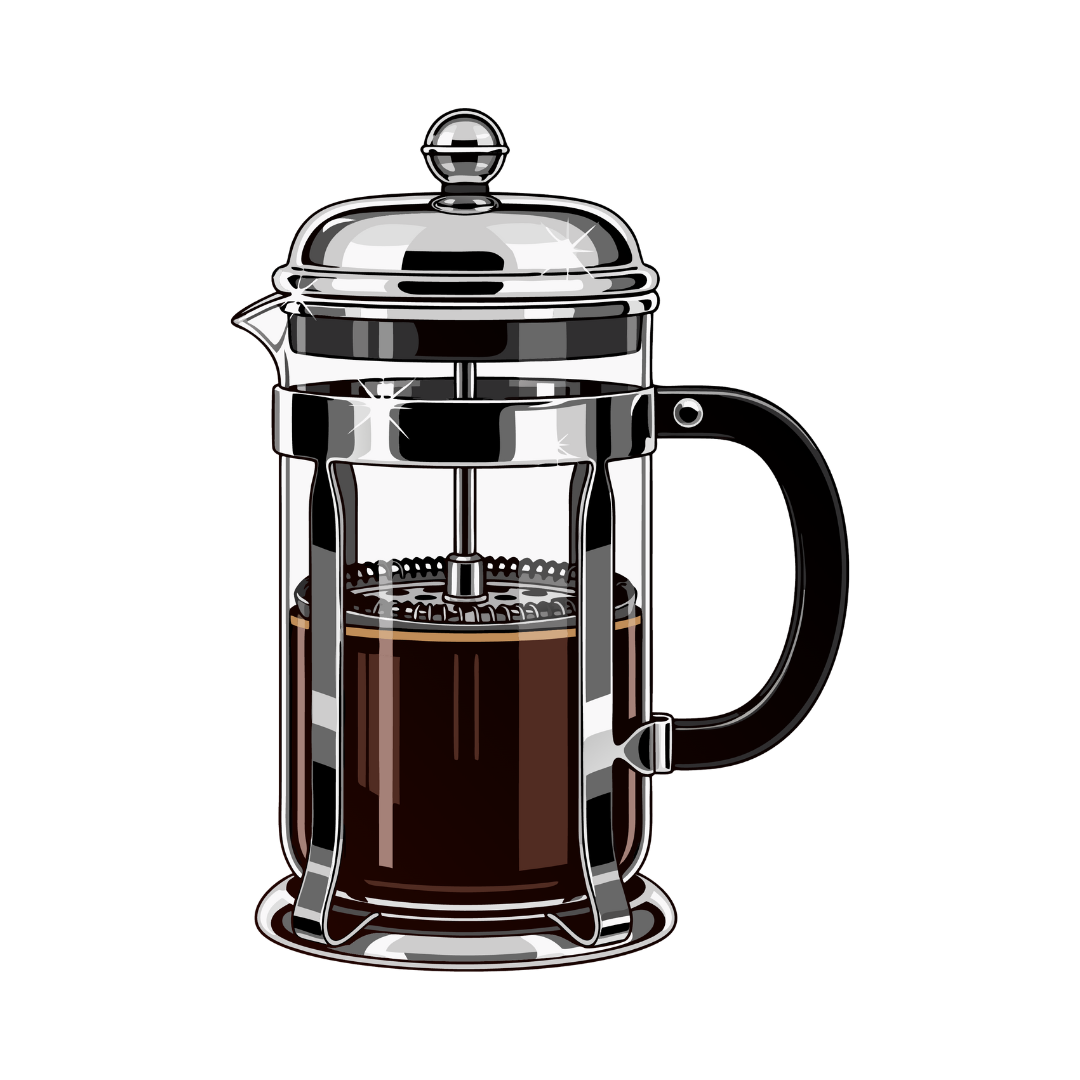
French Press
French Press:
This is a detailed step by step guide so you can better understand the process of brewing in a French Press and the reasons behind, how they affect your French press coffee:
1. Preheat the French press
- Why: Pouring hot water into the French press before brewing helps to warm the glass or metal container. This step ensures that the temperature remains consistent during brewing, which leads to better extraction of flavors from the coffee.
- How: Just fill the press with hot water for a few seconds and then discard it.
2. Add coffee (1:16 ratio)
- Why: The ratio of coffee to water is critical to get the best balance of flavor and strength. A 1:16 ratio means for every 1 gram of coffee, you add 16 grams (or milliliters) of water. For example, 30g of coffee for 480ml of water. This helps achieve a well-rounded, medium-strength brew.
- How: Coarsely grind your beans for the French press to avoid over-extraction, which can make the coffee bitter. A coarse grind size allows water to extract the flavors more evenly.
3. Pour hot water
- Why: Pouring hot water (about 93°C or just off-boiling) onto the coffee allows the grounds to release gases (like CO2), a process known as "blooming." This step helps in extracting more flavor and creating a rich cup of coffee.
- How: Pour the water slowly over the coffee grounds without stirring. This lets the water seep through the coffee and distribute evenly.
4. Wait for 4 minutes
- Why: The steeping time of 1 minutes is just right for a French press to extract the essential oils, flavors, and caffeine from the coffee without making it bitter or overly strong.
- How: After pouring the water, let the coffee sit undisturbed for 4 minutes. This helps create a “crust” of coffee grounds at the top.
5. Break the crust
- Why: As the coffee steeps, the grounds float to the top and form a "crust." Breaking this crust allows the trapped gases to escape and makes it easier for the water to interact with the coffee grounds for a more even extraction.
- How: Gently use a spoon to break the crust that forms on the surface and give it a light stir. This also mixes the grounds more evenly into the water.
6. Scoop the grounds
- Why: Removing the floating grounds at this stage prevents bitterness, as these grounds would continue to steep and over-extract during the pressing process. It also improves the clarity and mouthfeel of the final cup.
- How: After breaking the crust, use a spoon to gently scoop off the floating grounds from the surface.
7. Let it rest (3 minutes)
- Why: Letting the coffee sit for 3 minutes after scooping the grounds allows the remaining fine particles to settle at the bottom. This rest period results in a cleaner cup with better clarity, as fewer coffee fines will end up in your mug.
- How: After scooping, wait before pressing the plunger.
8. Press and serve
- Why: Pressing the plunger gently pushes the grounds to the bottom while separating the brewed coffee. Doing this slowly prevents disturbing the settled grounds and reduces the risk of extracting more bitterness.
- How: Gently press the plunger down with minimal force, then pour the coffee immediately to prevent over-extraction from any grounds left in the press.
By following these steps, you'll make the most out of your coffee beans, achieving a rich and flavorful brew with minimal bitterness and sediment. The slow, mindful process ensures a smooth, well-balanced cup of coffee.
